Tips for Successful Self-Application of Individual Lashes Under Natural Lashes

Applying individual lashes under your natural lashes requires patience and precision, but with the right technique and a few helpful tips, you can achieve stunning results. We will discuss step-by-step instructions and valuable tips for the successful self-application of individual lashes under natural lashes.
Gather the Necessary Tools:
Before you begin, it's essential to gather all the necessary tools.
You will need a mirror, tweezers, individual lash adhesive, individual lashes, lash scissors, and a clean, flat surface to work on.
Having everything prepared will make the application process smoother and more efficient.
Choose the Right Lashes:
Selecting the right individual lashes is crucial for a natural and comfortable look.
Consider the length, curl, and thickness that matches your natural lashes.
Opt for lashes that are not too long or dense, as they may look unnatural and put stress on your natural lashes.
Aim for a seamless blend between the individual lashes and your own lashes.
Prepare Your Natural Lashes:
Prepping your natural lashes before application is vital.
Start by cleaning your lashes thoroughly to remove any oil or debris that might interfere with the adhesive.
Use a gentle oil-free cleanser to ensure a clean surface.
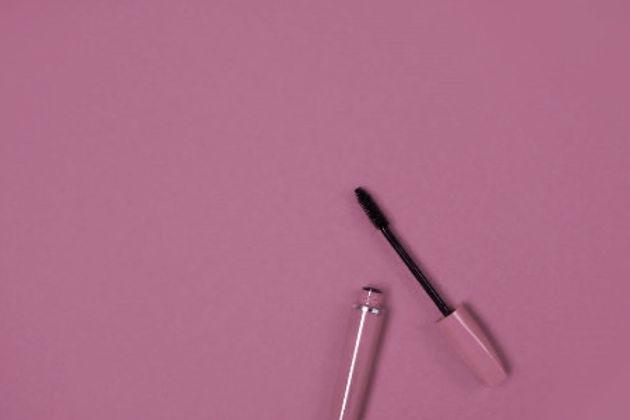
It's also helpful to curl your natural lashes and apply a light coat of mascara to give them a slight lift and ensure a more seamless integration with the individual lashes.
Trim the Individual Lashes:
Individual lashes typically come in a variety of lengths, and it's essential to customize them to fit your eye shape.
Hold the lash strip against your lash line to determine the appropriate length.
Trim the lashes from the outer corner, as this area tends to be longer.
It's better to start with a longer lash and gradually trim it down to ensure a perfect fit.
Apply the Adhesive:
Using the tweezers, carefully dip the base of the individual lash into the lash adhesive.
Avoid using too much adhesive, as it can create clumps and make the application process more challenging.
A small dot of adhesive is usually sufficient.
Wait a few seconds for the adhesive to become tacky before moving on to the next step.
Placement Technique:
Now comes the actual application.
Using the tweezers, hold the individual lash near the base, close to the adhesive.
Place the lash directly under your natural lash, ensuring that it is as close to the root as possible without touching your skin.
The goal is to create a seamless blend between the individual lash and your natural lashes.
Patience and Precision:
Applying individual lashes requires patience and precision.
Take your time and work on one lash at a time.
Ensure that the adhesive is secure and the lash is correctly positioned.
If you make a mistake, gently remove the lash, clean off the adhesive, and start again.
It's better to take your time and achieve a flawless result than rush through the process and end up with uneven or uncomfortable lashes.
Alternate Lash Placement:
To create a balanced look, alternate the placement of individual lashes between your upper lash line.
Start from the outer corner and work your way inwards.
This technique provides a more natural appearance and prevents the lashes from looking too dense or heavy in one area.
Finishing Touches:
After you have applied all the individual lashes, give them a final check.
Ensure they are all securely in place and feel comfortable.
Gently comb through the lashes with a clean spoolie brush to blend them with your natural lashes.
If desired, you can apply a light coat of mascara to further enhance the overall look.
Maintenance:
To maintain your individual lashes, avoid rubbing or pulling on them.
Be gentle when cleansing your face and avoid using oil-based makeup removers near the lash line, as they can weaken the adhesive.
Removal:
If you want to remove the individual lashes, use a specialized lash adhesive remover or gently soak a cotton pad in oil-free makeup remover and hold it against the lashes for a few seconds.
This will help loosen the adhesive, making it easier to remove the lashes without causing any damage.
Practice Makes Perfect:
Remember, applying individual lashes can be a skill that improves with practice.
Don't get discouraged if your first attempt isn't perfect.
Take the time to experiment with different techniques, lash styles, and adhesive brands to find what works best for you.
With time and practice, you'll become more confident and skilled in achieving stunning results.
Applying individual lashes under your natural lashes can be a rewarding and empowering experience. By following these tips and techniques, you can achieve a beautiful and natural-looking lash extension at home. Remember to gather the necessary tools, choose the right lashes, prepare your natural lashes, and take your time during the application process.
With patience, precision, and practice, you'll be able to master the art of self-application and enjoy the benefits of glamorous lashes whenever you desire.